How-To Guide
How to Make a Bible Verse Image You Can Share
This article uses AI-assisted drafting. Scripture, reading notes and practical suggestions are separate; specialist theological review is not claimed. Sources and corrections.
A Bible verse image works best when the words remain clear after the image is shrunk to phone size. Begin with the passage, rather than the background. Our image gallery shows examples, and the image maker lets you change the design.
1. Check the passage
Open the image maker, set Collection to Bible verses, and use the search field to find a reference or phrase. Choose a result from the Choose a passage list; the selected verse appears in the preview immediately. Choose Original reflections for labelled AI-assisted devotional writing or My own words for text you are entitled to share. On the verse page, compare the labelled World English Bible (WEB) and King James Version (KJV) wording. Open the surrounding chapter before turning a sentence into a standalone quotation. A clipped phrase can suggest something the passage did not intend.
For example, Psalm 23:1 is short enough for a small graphic. Its full chapter adds the imagery of guidance and shelter. Read it before writing a caption about the verse.
2. Choose the destination
The editor offers square, portrait, story, and wide formats. Pick the format that matches where the image will be seen. A story is taller than a square post. A wide card leaves room for a presentation or link preview. If you are unsure, start with a square, then export another size without leaving the maker.
3. Make the text legible
Choose a background with a quiet area behind the words. The strongest photograph is not always the strongest verse design: fine branches and bright highlights can compete with letters. Preview the design at roughly the size it will appear on a phone. If a line is hard to read, try another scene or a shorter passage.
Keep the reference visible and leave enough space around the text. Do not change the wording of the quoted translation to make it fit. Choose a shorter passage or a taller format instead.
4. Save and check the file
Use Download to save the PNG. Open the saved file and check the reference, spelling, line breaks, and contrast before sharing. The editor can also offer the device’s share option where supported. A downloaded file remains a fallback when a browser cannot open a share sheet.
If you use your own photo as a background, the editor processes it in your browser. Review that image for other people’s faces or private details before posting it. Read how the editor handles photos.
A useful first design
Open John 3:16 in the maker, choose a simple background, try both square and portrait, and compare the two saved images on your phone. This quick comparison will tell you more about readability than a large desktop preview alone.
Match the file to its destination
The maker exports square at 1080 × 1080, portrait at 1080 × 1350, story at 1080 × 1920 and landscape at 1200 × 630 pixels. Start with square for a short passage and try a taller format for a longer sentence. A platform may crop an upload, so check it there before posting. Compare the four sizes.
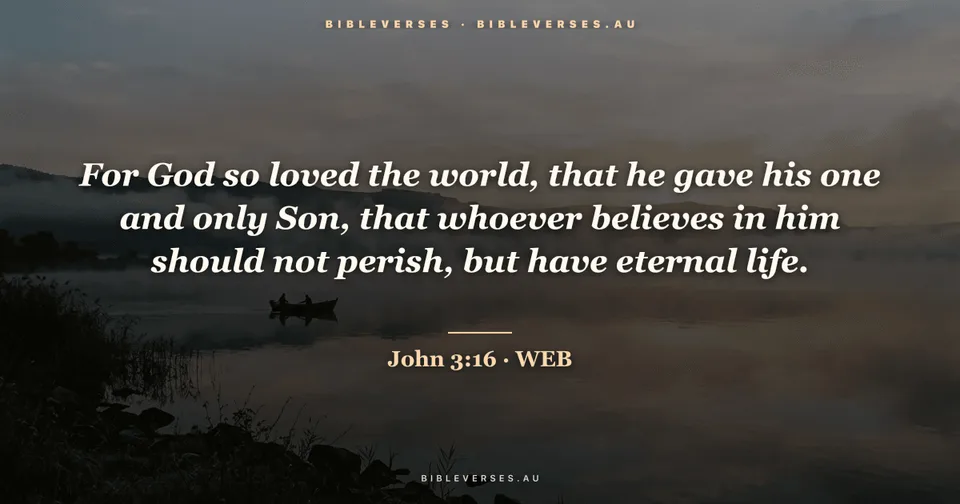
This gallery example uses a wide layout. Your selected maker size is shown beside the live preview; the downloaded file uses that size.
If something does not work
A grey download button means the preview is still rendering or a required image has not loaded. Give it a moment, then choose a plain colour background if needed. A plain colour removes dependence on loading a scene photo. If Share image is unavailable, use Download PNG and attach the saved file yourself. Keep custom writing in My own words so it cannot be mistaken for a labelled translation.